Visual Materials
Big Creek Powerhouse #3 - PH #3

You might also be interested in
Big Creek Powerhouse #3 - PH #3
Visual Materials
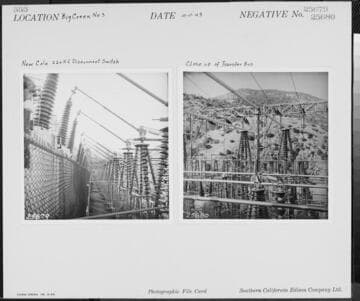
Big Creek Powerhouse #3 - PH #3 - New Cole 220kV Disconnect Switch.
photCL SCE 02 - 25679

Big Creek Powerhouse #3 - PH #3
Visual Materials
Big Creek Powerhouse #3 - PH #3 - 220kV transfer bus.
photCL SCE 02 - 25683

Big Creek Powerhouse #3
Visual Materials
Big Creek Powerhouse #3 - PH #3 switchyard, with powerhouse and penstocks in background, showing also terraced layout to fit slope of the hillside, and terminal transmission towers and disconnect switches in center.
photCL SCE 02 - 09135

Big Creek PH #2
Visual Materials
Big Creek PH #2 - 220kV air break switches on roof of Powerhouse 2
photCL SCE 02 - 07370

Big Creek Powerhouse #3 - PH #3, Unit 4
Visual Materials
Big Creek Powerhouse #3 - PH #3, Unit 4 - Penstock section at lower valve house at Powerhouse.
photCL SCE 02 - 28255

Big Creek Powerhouse #3 - PH #3 - 4th Unit
Visual Materials
Big Creek Powerhouse #3 - PH #3 - 4th Unit - Lower butterfly valve, bypass, exiter, rotor in background.
photCL SCE 02 - 28142